Latest University Announcements
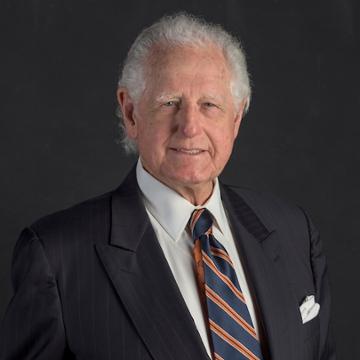
Apr 26, 2024
Ambassador Holden, who served as a member of the Board of Regents for more than 30 years and began his service as a Life Regent in 2019, passed on April 18, 2024, at the age of 96.

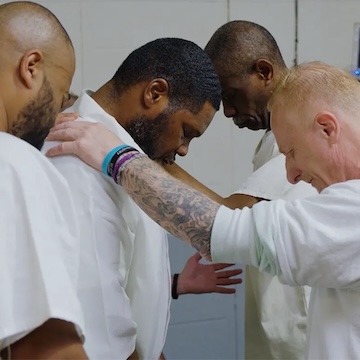
Apr 25, 2024
The Center for Faith and the Common Good recently released "A New Morning at Parchman Prison," which explores how Christian practices influence human flourishing.
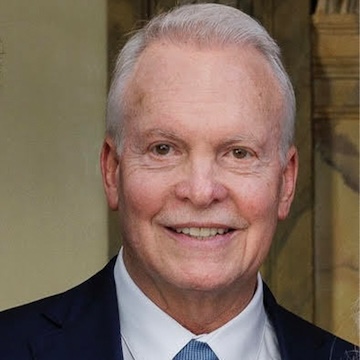
Apr 23, 2024
Following four exceptional decades of unparalleled leadership to the Pepperdine community, senior executive vice president Gary A. Hanson will be retiring effective July 1, 2024.
Apr 18, 2024
The IT department will perform WaveNet system maintenance this Sunday, April 21, from midnight until 1 AM (PDT). During this time, WaveNet will be unavailable.

Apr 18, 2024
The memorial opened to the public on April 18, 2024, following a private community event held the prior evening at Stauffer Chapel.

Upcoming Events
Friday
Apr 26, 2024
Sunday
Apr 28, 2024
Monday
Apr 29, 2024
Tuesday
Apr 30, 2024
Wednesday
May 1, 2024